Smart Ways to Upgrade Your Home Teaching Setup
You may be teaching from your living room, but a few simple adjustments can up your teaching game.
Your content has been saved!
Go to My Saved Content.Educators around the world are teaching virtual classes from kitchen tables, hallway nooks, and desks squeezed into bedroom corners. A few simple DIY tweaks and inexpensive upgrades can make the experience more comfortable and sustainable, writes Mary Ellen Flannery for the National Education Association’s NEA Today. We combed through social media and our own archives to find smart ways teachers are making temporary home teaching setups more inviting and conducive to learning.
Consider your backdrop
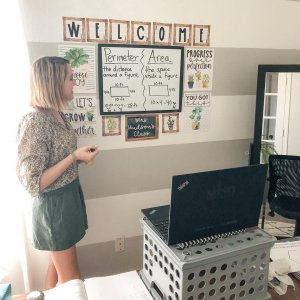
Make the space students see behind you inviting and relevant—even if you’re working from a corner of your living room. Consider hanging a poster, whiteboard, calendar, map, or uncluttered bulletin board with a few simple items attached. Include plants, flowers, or several must-read books. If you plan to pre-record lessons against a particular background, or display student work for classmates to see, try using a temporary green screen. You can buy readymade green screens, but Justine Bruyère, a lecturer at Vanderbilt University’s Peabody College, suggests hacking a green screen by using a large roll of green paper or a green bed sheet or towel. Some teachers even temporarily paint a section of wall green. And don’t forget meaningful tokens only you can see: “Personal tchotchkes can remind you of who you are and what you love,” Flannery notes.
Work standing up
With a standing desk, you can easily transition from sitting to standing and back again, giving your body a break and the opportunity to move around a bit. But you don't need to buy a new, expensive piece of furniture. A box, crate, stack of books, or overturned laundry bin placed on your desk can work just as well. Make sure to adjust your screen so you’re not craning or standing uncomfortably and, most importantly, ease into using your standing desk—start by standing for 20 or 30 minutes stretches—so you’re not putting undue stress on your body.

Use multiple screens
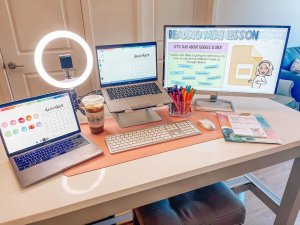
Many teachers use several screens in their home teaching space so they can designate each screen for particular activities. Montana Riley, a 4th grade teacher from Virginia, uses her main laptop for seeing her students and chatting on Microsoft Teams. She uses a second laptop for small group work, and an additional monitor extends her main laptop’s screen when she’s screen sharing. Some teachers like having a touch-screen available to expand their screen space or to use like a whiteboard.

Light with care and boost your sound
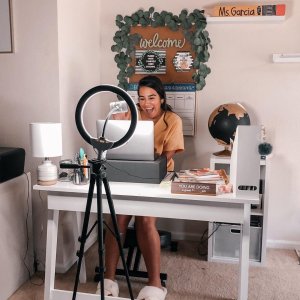
Good lighting and clear sound can make a big difference during virtual teaching, Flannery says. With good lighting, students can see your face clearly and catch nuances in your expressions that might otherwise be tough to detect. But the answer isn’t to simply shine a bright light into your face. Consider investing in a low-cost ring light, a circular desk light that provides soft, diffused light and allows you to dim or adjust filters as daylight changes throughout the school day, or cast light on a worksheet that you are projecting.

If your students can’t hear you well, they can’t learn well, and the built-in microphones in most laptops often don’t cut it. An external microphone connected over USB, however, can deliver crisp, clear sound during synchronous lessons—and there are good options that aren’t too expensive. Clear sound is also important for your pre-recorded presentations, demos, and slideshows with voice-over.
Be clear about your availability
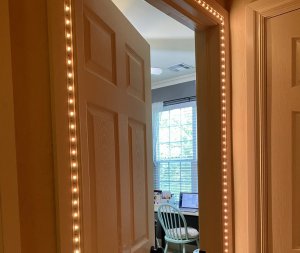
For teachers who are also parents, minimizing interruptions can be especially hard. University of Oklahoma psychology professor Janel Cavazos devised a uniquely effective way of communicating to her family how accessible she is throughout the school day: She rigged a “cheap strand of LED lights around the office door” and together with her kids, agreed on a simple signaling system. When the lights are red, it means “quiet—big meeting or recording.” When Cavazos switches the lights to orange, it means “stay out, but noise OK.” Yellow means “come in quietly,” and green signals “have at it!” she writes on Twitter.

